Quantcast
Channel: PRESENTING Archives -
Viewing all 122 articles
Browse latest View live

Create Online Presentations in Impress

$
0
0

With our online presentation service Impress, you are able to combine content created with the pCon.planner to individual presentations and share them with other people. In addition to images, panoramas, videos, Multi Content Pictures and Download tiles Impress can also display 3D objects interactively. In this video tutorial we will show you how to create and manage your own presentations.

PS: The video has been recorded in HD quality. You can set the quality up in the bottom navigation of the video. For best results choose 1080p. With slower connections it may take longer to load the video.


Generate 3DWeb-Files

$
0
0

The 3DWeb export in pCon.planner generates a 3D model of objects from your planning. Using our online presentation service Impress you can view this data in your web browser. You are able to rotate the object, move and zoom into details of the object.

PS: The video has been recorded in HD quality. You can set the quality up in the bottom navigation of the video. For best results choose 1080p. With slower connections it may take longer to load the video.

Presenting with pCon.planner

$
0
0

The tutorial videos posted in the last weeks gave you insights on the topic of presenting your room plans with pCon.planner. If you want to access the videos again, just go to our YouTube channel. We put together the playlist “Presenting with pCon.planner” on which you can find all 8 videos from our series about this topic. If you want quick and easy access to the videos at all times, just bookmark the playlist in your browser.
Present your designs with pCon.planner.
The next videos will be about new functions and features in pCon.planner 7.1. If you do not want to miss them, subscribe to the Blog or our YouTube Channel.

Impress Upload Keeps Getting Stuck? A Few Simple Clicks Could Help.

$
0
0

If you are user of our online presentation service Impress and the upload of certain files regularly stops, it could be due to the settings of your browser security system. In this post we are going to present a solution to the problem.
If the upload of certain files to Impress keeps getting stuck, a few clicks could help
The Problem:
Many antivirus software programs contain web protection modules which will check the data traffic between the web browser and the internet. By doing so, the software will make sure that no harmful data will be downloaded to your computer. The programs use file extensions and size as indicators. Many files are accepted to pass by the browser security systems – for example pictures with the extension png or jpg, whereas the system will block unknown files. Certain media such as MultiContentPictures and panoramas that are generated with pCon.planner are developed by EasternGraphics and thus use special extensions. For this reason, those files sometimes are blocked by web protection and can neither be uploaded nor displayed.

The Solution:
To enable the blocked files for the upload to Impress, you have to add the unknown file extensions in the settings area of your web protection. So add the following extensions to the list of permitted files to make sure that all media possible can be presented with Impress.

  • ­  epan
  • ­  eimg
  • ­  3dweb

Wall objects in pCon.planner

$
0
0

The pCon.planner offers a variety of elements that you can insert into walls. There are, for example, windows, doors or wall openings. These wall elements were enriched with the wall objects in pCon.planner 7.1. In pCon.catalog you will now find different types of sockets as well as light switches and door openers. In this video tutorial we show you how to use the new functionalities correctly.

PS: The video has been recorded in HD quality. You can set the quality up in the bottom navigation of the video. For best results choose 1080p. With slower connections it may take longer to load the video.

3 Tips for Rendering Interiors

$
0
0

Besides being a terrific 3d room planning software, pCon.planner also is a tool for visualizing and presenting your interior designs. That is why we are sharing rendering tips from time to time on facebook, in our video tutorials and here on the blog. This time our focus will not be on the technical aspects but more on alleged trivialities that can be deciding factor when it comes to presenting spaces and interior concepts.

1. Eyes straight ahead
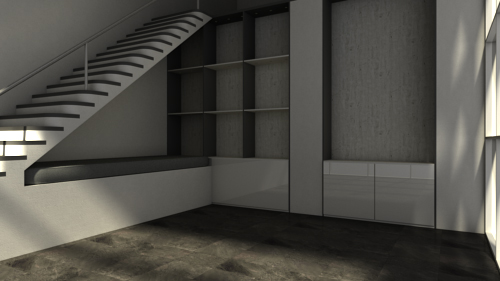
When it comes to the rendering of interior scenes, basically the same ground rules apply as for shooting interiors. This means that you should watch the vertical lines and edges and try to parallel them to the picture margin. In pCon.planner you can avoid merging lines by using cameras and leveling them or by using the Camera Type Architect in the Media Maker.
Render of an Empty Living Room with Merging LinesRender of an Empty Living Room with Leveled Camera

2. Turn on the light
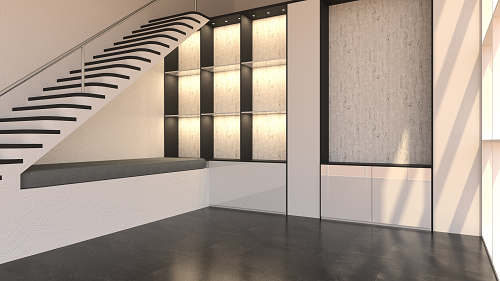
When scrolling through a catalog you might have noticed that almost every time the lights are turned on. Using lamps as light sources fulfills several purposes: they fill the room with soft light, make the picture inviting and give it a polished look. For renders it also seems the thing to do. You can turn on the lights by placing light sources in suitable places – for example in place of a light bulb, a spotlight or a luminous tape. Depending on the kind of light you want you can choose between different types of light in pCon.planner, namely these are Spot Light, Point Light, Directional Light and Area Light. Or you can use Self-illuminating Materials.
Render of an Empty Living Room with Lighting

3. Decorate
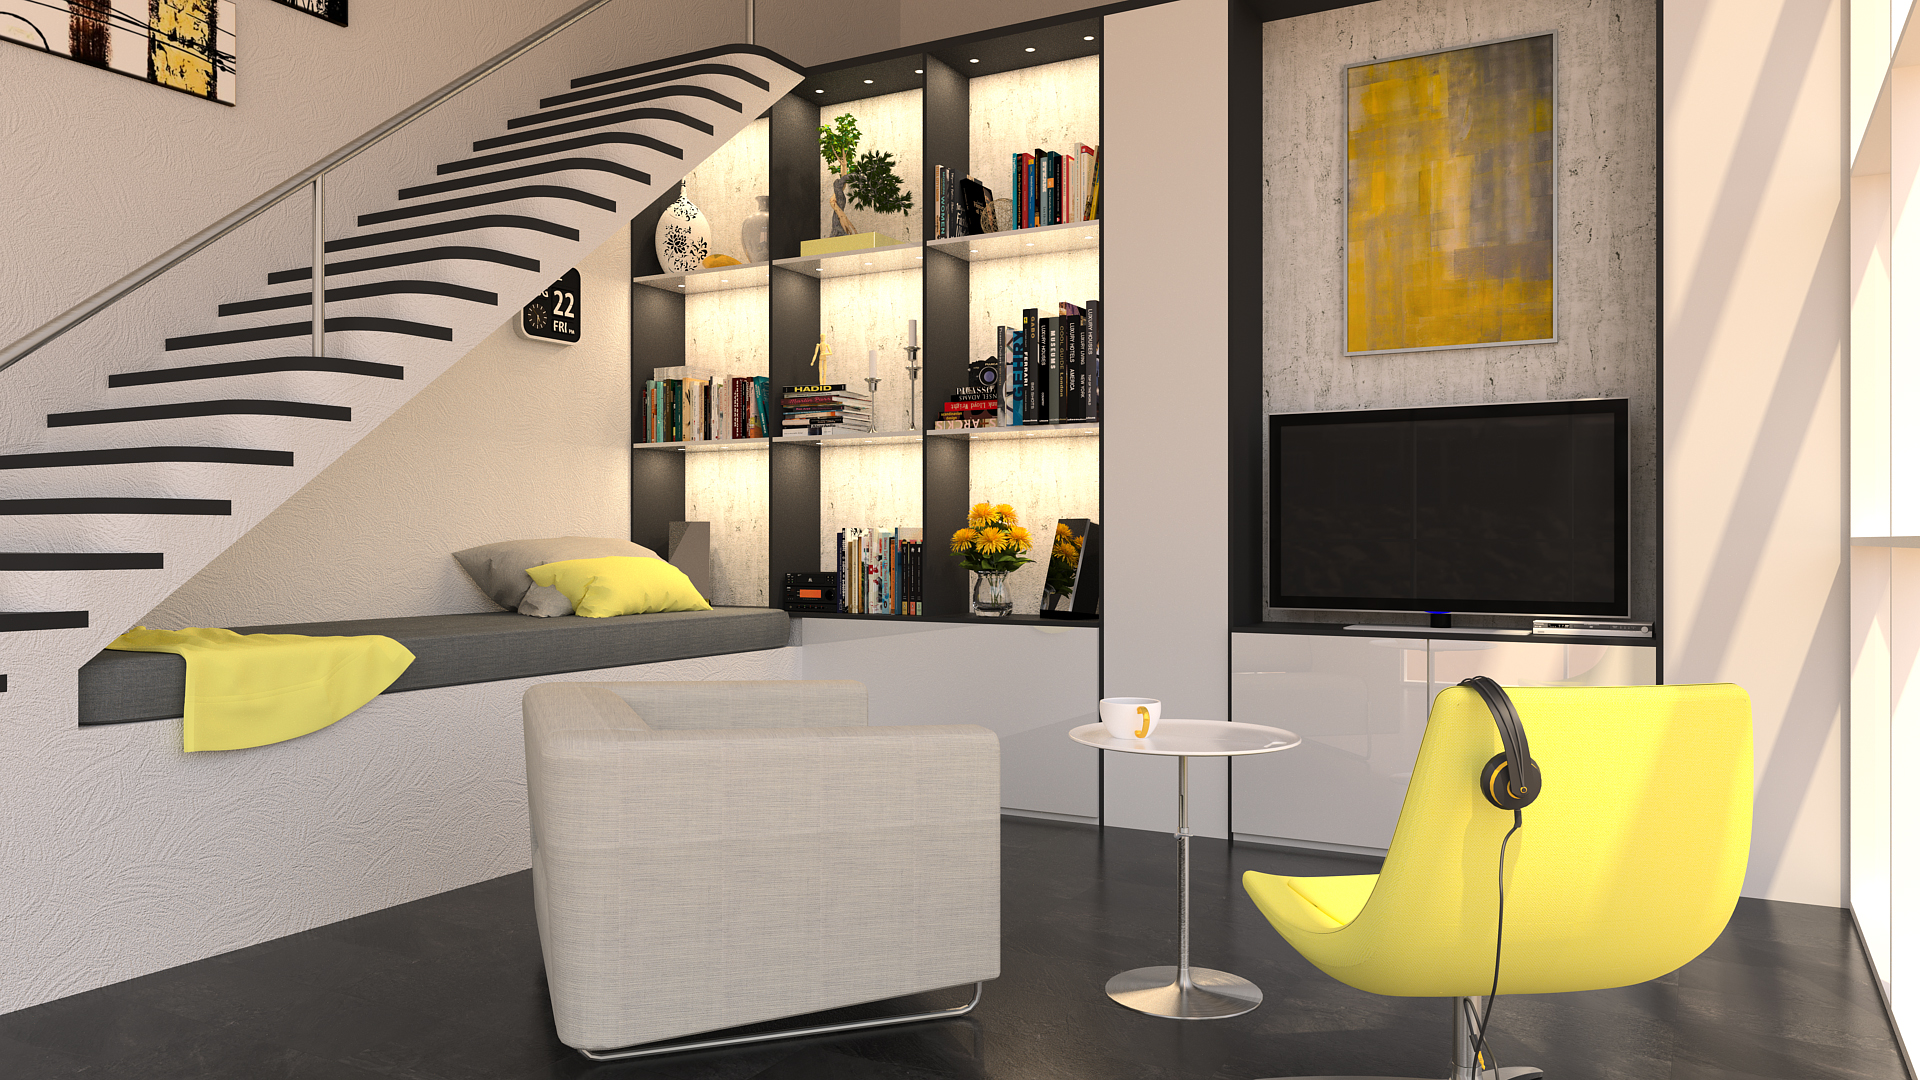
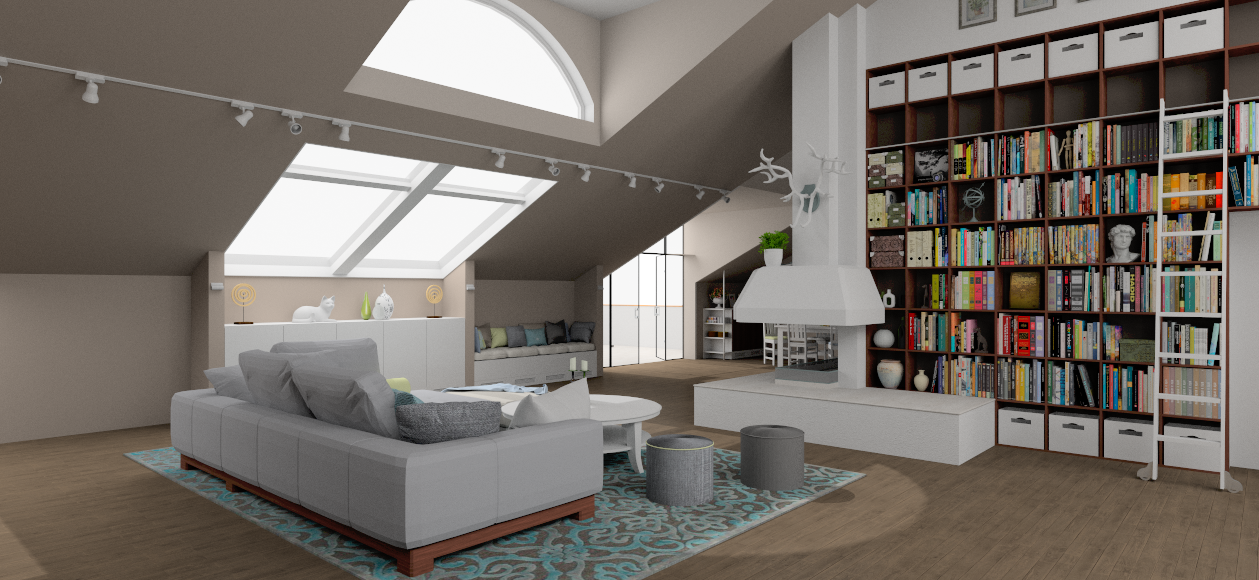
Decoration can help to create a certain vibe and to convey what you want to show with the render. A coffee mug and a notepad on the desktop, magazines stacked on a coffee table, books on the racks and pictures on the wall really get the message across that this room is made for people. You have access to a broad variety of 3d models you can use to furnish and decorate the space in the 3d Warehouse and in the pCon.catalog portal. Simply go to the click on the button 3D Warehouse or Catalog – which you can find in the Start Tab pCon.planner – and insert your desired object.
Render of a Decorated Living Room

Are you interested in any special topics? Let us know your ideas and questions in the comments.

pCon.planner 7.1 – How to load your own product images for lists and articles

$
0
0

You need high quality product images for lists of articles? With the Snapshot Tool in pCon.planner PRO you can create graphics for articles with only a few simple steps. In this short video tutorial we will show you how to insert your own product images quickly.

PS: The video has been recorded in HD quality. You can set the quality up in the bottom navigation of the video. For best results choose 1080p. With slower connections it may take longer to load the video.

Rendering Tips – Working with the “Ball of Light”

$
0
0

A few weeks ago, we asked you what topics you’d like to see more of here on the pCon blog. And we received several suggestions.

Today, we’ll be dedicating our post to the first topic suggestion: Tips and Tricks for your Renderings. With that said, this post will concretely explain how to quickly and easily illuminate your renderings in pCon.planner.

Lighting done right
Finding and fine-tuning the right lighting for your particular design space can be extremely time consuming. But don’t fret, one of our pCon.planner trainers has developed a quick fix for you, appropriately name the “ball of light.”
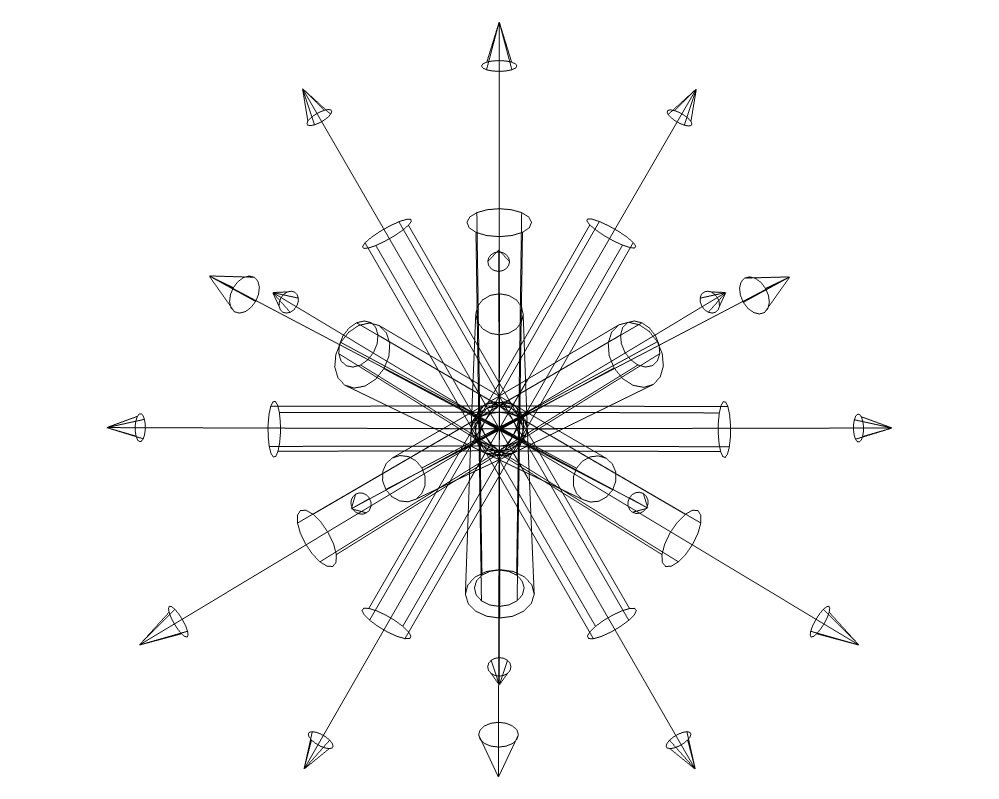
The “ball of light” consists of grouped, directional light sources that emits light in all directions. This ensures that renderings created in the lighting method Direct Lighting are evenly lit.
Rendering Tips – Working with the “Ball of Light”

Applying the “ball of light”
Before you insert the “ball of light,” be sure to remove the Default Lighting from your plan. Without this step, your image will appear overexposed. Once the default lighting has been removed, you can insert the “ball of light” into your design. The exact placement of the light source is up to you, however, we suggest placing it outside of the room. This way, the light won’t be in the way if you want to make any changes within the space.

Now, try creating a rendering. With the addition of the “ball of light,” you’ll notice the image is evenly illuminated. Keep in mind, this also means that hardly any shadows will be present, impacting the spatial effect of the rendering. To avoid this problem, you can then add an additional light source using a Directional Light type. With this, we’re imitating sunlight and bringing shadows back into the picture. Together, these light sources will bring about a more natural appearance.

Download the “ball of light” here and try it out yourself!

You can see the individual steps for this rendering tip in the gallery.
Rendering Tips – Working with the “Ball of Light”

Rendering Tips – Working with the “Ball of Light” Rendering Tips – Working with the “Ball of Light” Rendering Tips – Working with the “Ball of Light”

Rendering Tips – Working with the “Ball of Light” Rendering Tips – Working with the “Ball of Light” Rendering Tips – Working with the “Ball of Light”


pCon.planner Layout Area Part 1

$
0
0

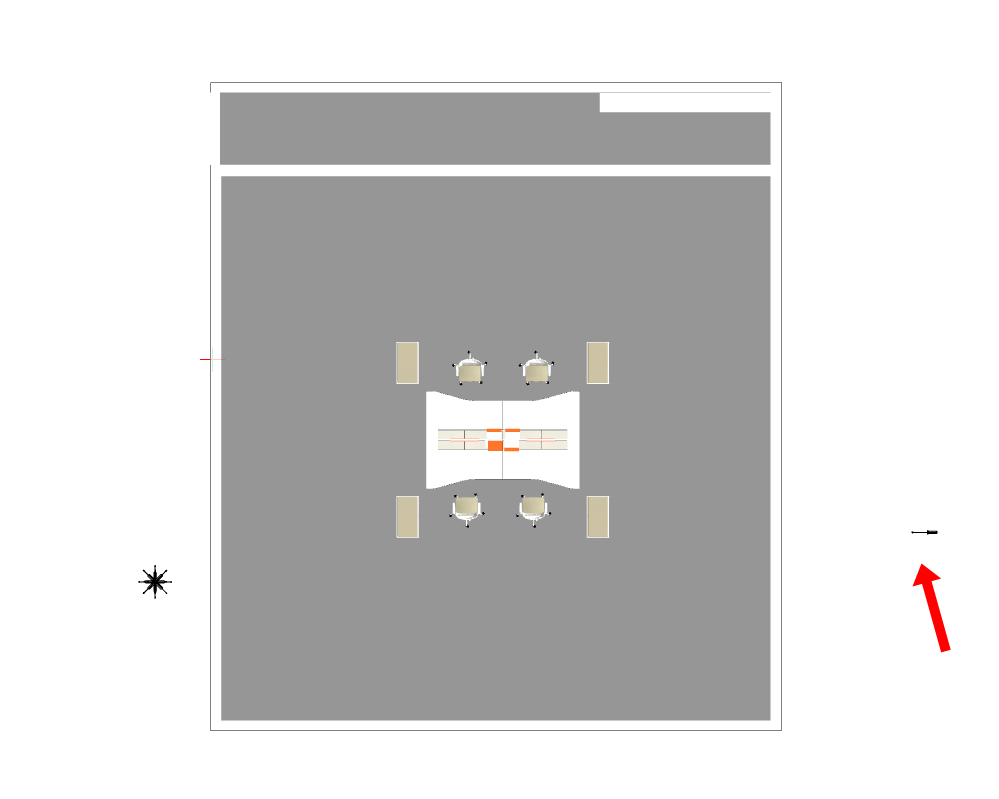
pCon.planner PRO has a comprehensive layout area. A Layout is a page on which one chooses the positioning of the elements to be printed. With this tool you can create a variety of different layouts of a plan and print them to scale. In this video we will show you how to create and edit viewports and which settings you can define for layout pages.

PS: The video has been recorded in HD quality. You can set the quality up in the bottom navigation of the video. For best results choose 1080p. With slower connections it may take longer to load the video.

Layout Area Part 2

$
0
0

pCon.planner PRO has a comprehensive layout area. A Layout is a page on which one chooses the positioning of the elements to be printed. With this tool you can create a variety of different layouts of a plan and print them to scale. In this video we will you how to insert stamps, logos and other media how to edit the document properties.

PS: The video has been recorded in HD quality. You can set the quality up in the bottom navigation of the video. For best results choose 1080p. With slower connections it may take longer to load the video.

Layout Area Part 3

$
0
0

pCon.planner has a comprehensive layout area. A Layout is a page on which one chooses the positioning of the elements to be printed. With this tool you can create a variety of different layouts of a plan and print them to scale. In this video we show you how to export images and PDF files and edit the settings of viewports.

PS: The video has been recorded in HD quality. You can set the quality up in the bottom navigation of the video. For best results choose 1080p. With slower connections it may take longer to load the video.

pCon.planner 7.2 – Sneak Peek Part 1

$
0
0

Explore 3D models on your browser

pCon.planner 7.2 is almost here, and it comes with several new features. Today, we’ll show you a function that is sure to impress.
pCon.planner 7.2 Sneak Peek 1
With the new version of our room planner, you can share your plans or 3D models at the touch of a button. With this, your clients or colleagues can view the shared items on their browser – no matter where they are, or whether they’re on a tablet or a computer.

If you’d like to know more information on how 3D models look in the browser, take a look at the following link: http://goo.gl/50hhwz

Please note: At this time, we recommend viewing the link using Chrome.

A Glimpse into the Future

$
0
0

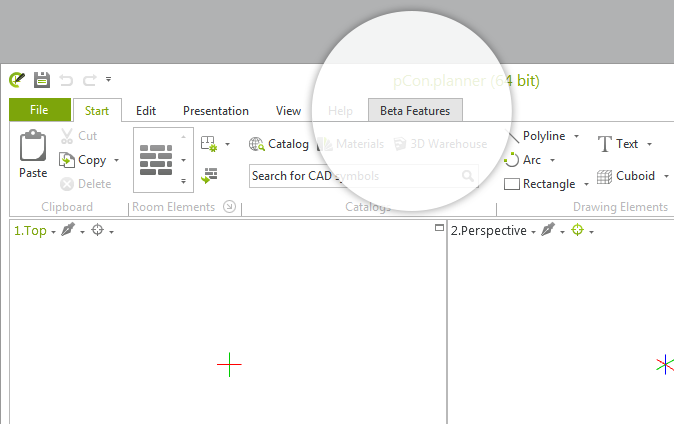
Has the Beta Features tab in the pCon.planner Menu already caught your eye?
The new Beta Features tab in the pCon.planner
Here, we’ll continue to put new features of the room planner that are still in Beta status and are set for official release in later versions. With this, your curiosity is immediately rewarded!
A Glimpse into the Future
In this version of pCon.planner, you’ll find an alternative renderer that we’re developing in collaboration with Intel. In order to help both you and your sales partners create even more impressive and photo-realistic product and design images, EasternGraphics is working in collaboration with Intel on a new renderer for pCon.planner. One of the highlights of this new feature is the overall illumination of a scene – a concept previously connected to the painstaking task of light settings, that will now be standard, leaving room for more possibilities. A further benefit is interactive rendering. In other words, what you see on the screen will be rendered. Change the camera or lights, however, and the renderer will adjust accordingly, continuing the rendering process from the new perspective.

More information on this new feature can be found in the Help Center. You can leave your feedback in the comments, we’d love to hear your thoughts.

3D Construction in pCon.planner – made to meet your needs!

$
0
0

Custom designs – a lucrative, but no less challenging theme when it comes to planning for your customers. With the need to implement individual requests, such as specific dimensions or particular shapes, the sheer wealth of ideas and imagination is almost limitless. And naturally, the customers want to see what they’ll get before they buy.

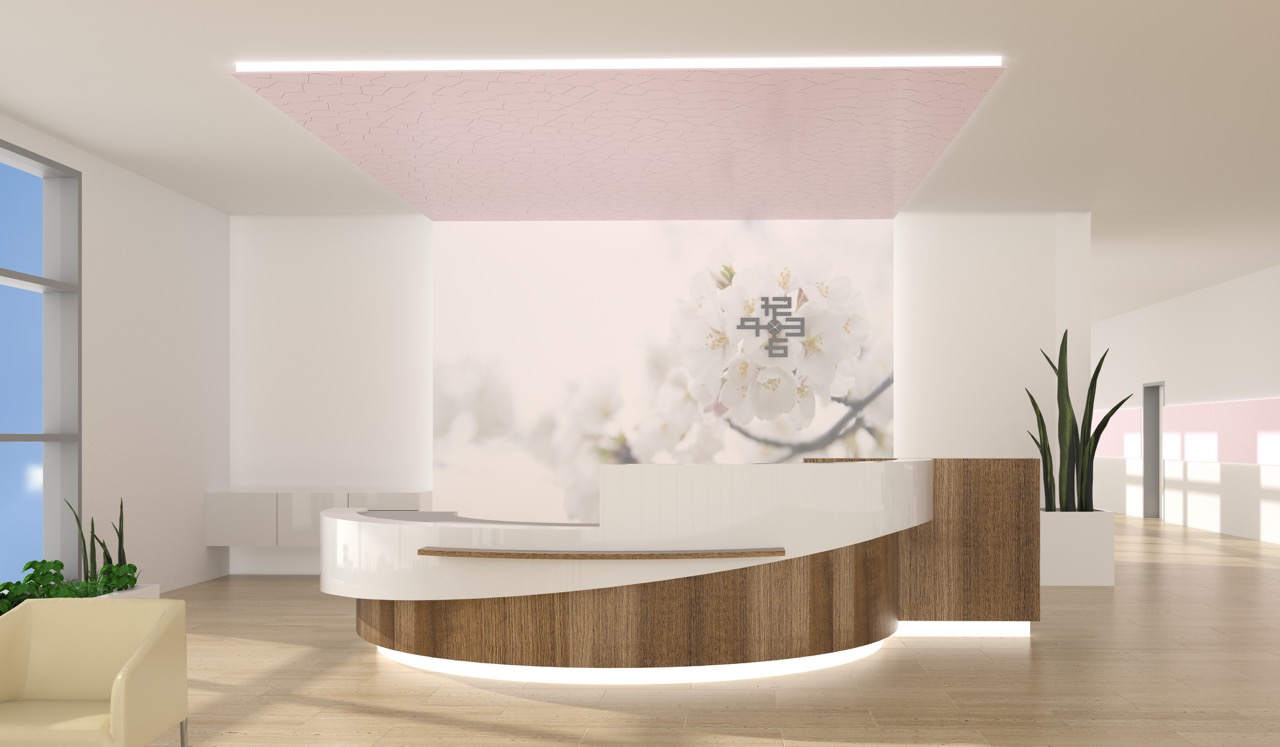
The solution? pCon.planner not only answers to these constructions needs, but also provides various options in which you can easily edit and work with 2D elements and 3D objects. Want a counter like the one below? With a little practice, you can create such a design, too!
3D Construction in pCon.planner – made to meet your needs!
The construction of many individual design ideas often starts with 2D drawing elements, which, piece by piece, evolve into impressive 3D models. To do so yourself, start by drawing a basic 2D structure of your model with the help of various editable drawing elements like lines, arcs or triangles. Then, extrude them. With the resulting 3D model, you can now utilize various operations, such as “Subtract,” “Merge,” or “Intersect”, found in the pCon.planner menu. More often than not, there are several ways to implement your ideas.
3D Construction in pCon.planner – made to meet your needs!
Whether you “subtract” a rectangle from a sphere (middle illustration) or you create an “intersect” of both shapes (right illustration), the end result, as seen in this example, is the same: the basic form of your counter is complete.

The substructure paneling of the counter is also created similarly: Draw the base frame in 2D, extrude the drawing to form a solid shape, and finally, create the “finished form” by using the respective subtraction option on other shapes.

If you are looking to create custom designs in the future, the “Subtract,” “Merge,” and “Intersect” functions will certainly come in handy. Go ahead – try these design features out for yourself!

Using Lights to Set a Scene

$
0
0

Using Lights to Set a Scene space planning room planning rendering presentation pCon.planner OSPRay lighting interior design images
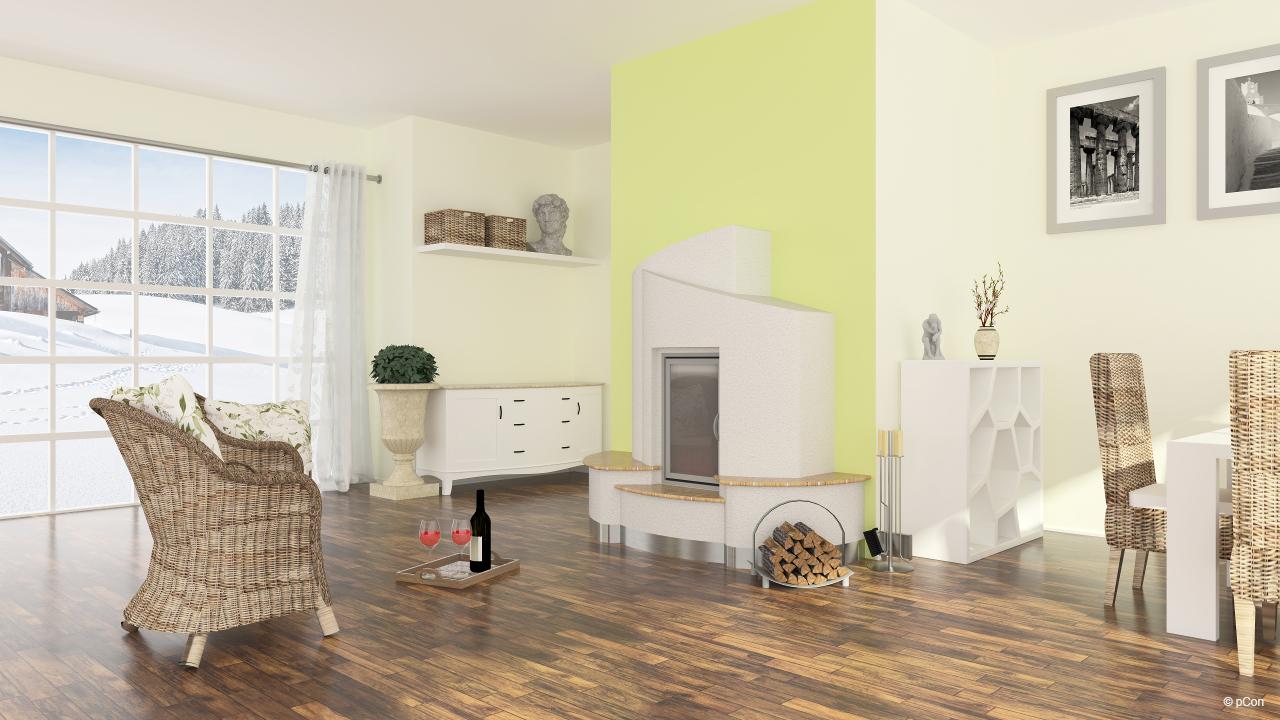
Imagine yourself sitting by the fire on a winter afternoon, cup of tea in hand and the sunlight reflecting off the snow and in through the window. It may be cold outside, but the warmth of the rays blanketing the room suggests a much cozier atmosphere.

Now, think of the last time you walked into a hardware store. Maybe it was hot outside, but the concrete floors, high ceiling and bright lights put forth anything but a warm, comfortable environment.
Using Lights to Set a Scene space planning room planning rendering presentation pCon.planner OSPRay lighting interior design images
So, what is it about these two scenes that so drastically changes their mood, and what do you need to do to ensure that you’re creating the setting you want? When it comes to creating the perfect atmosphere for a room, lighting is key.

Not only are specific lighting types essential for fulfilling tasks at home or in an office, they’re also crucial in setting the mood within a particular space. With appropriate lighting techniques, you can completely change the look and feel of any room. And in the case of pCon.planner, you can use these techniques to create hyper-realistic renderings for any occasion.

By utilizing and combining the following light types, you’ll be well on your way to creating the ultimate space:

•    Available light (overall illumination, e.g. ceiling fixtures, sunlight)
•    Task light (e.g. floor lamp, undercabinet lighting)
•    Accent light (e.g. track lighting, flood lights)
Using Lights to Set a Scene space planning room planning rendering presentation pCon.planner OSPRay lighting interior design images
The best news? All of these lighting options are available to you in pCon.planner!

Within the Room Elements tab of pCon.planner, you’ll find 5 lighting sources. All of these sources can be configured and adapted to your specific needs. This not only gives you complete control over the direction of the light and luminosity of the space, but also allows you to place focus on any particular part of your plan.

In pCon.planner 7.2, our Beta features include the new OSPRay Renderer. While the interactive renderer doesn’t require specific settings for the rendering process, you do have several lighting options to improve image quality, such as increasing the intensity of the Background Light or enabling and increasing sunlight intensity. If you’re using the Yafaray Renderer, you can increase the ambient occlusion color values to improve the overall illumination of your plan.

Activating and exporting light fixtures that are already incorporated into your plan will also improve the overall lighting, add natural shadows and help to create a stunning and realistic image for presentation.

So, now it’s your turn! Think about what you’re trying to create, decide which emotions and mood the design should invoke, and let your creativity run wild.

For more inspiration, take a look at our renderings gallery. >> Generate Stunning Images



Kondator 3D models now available in pCon.catalog

$
0
0

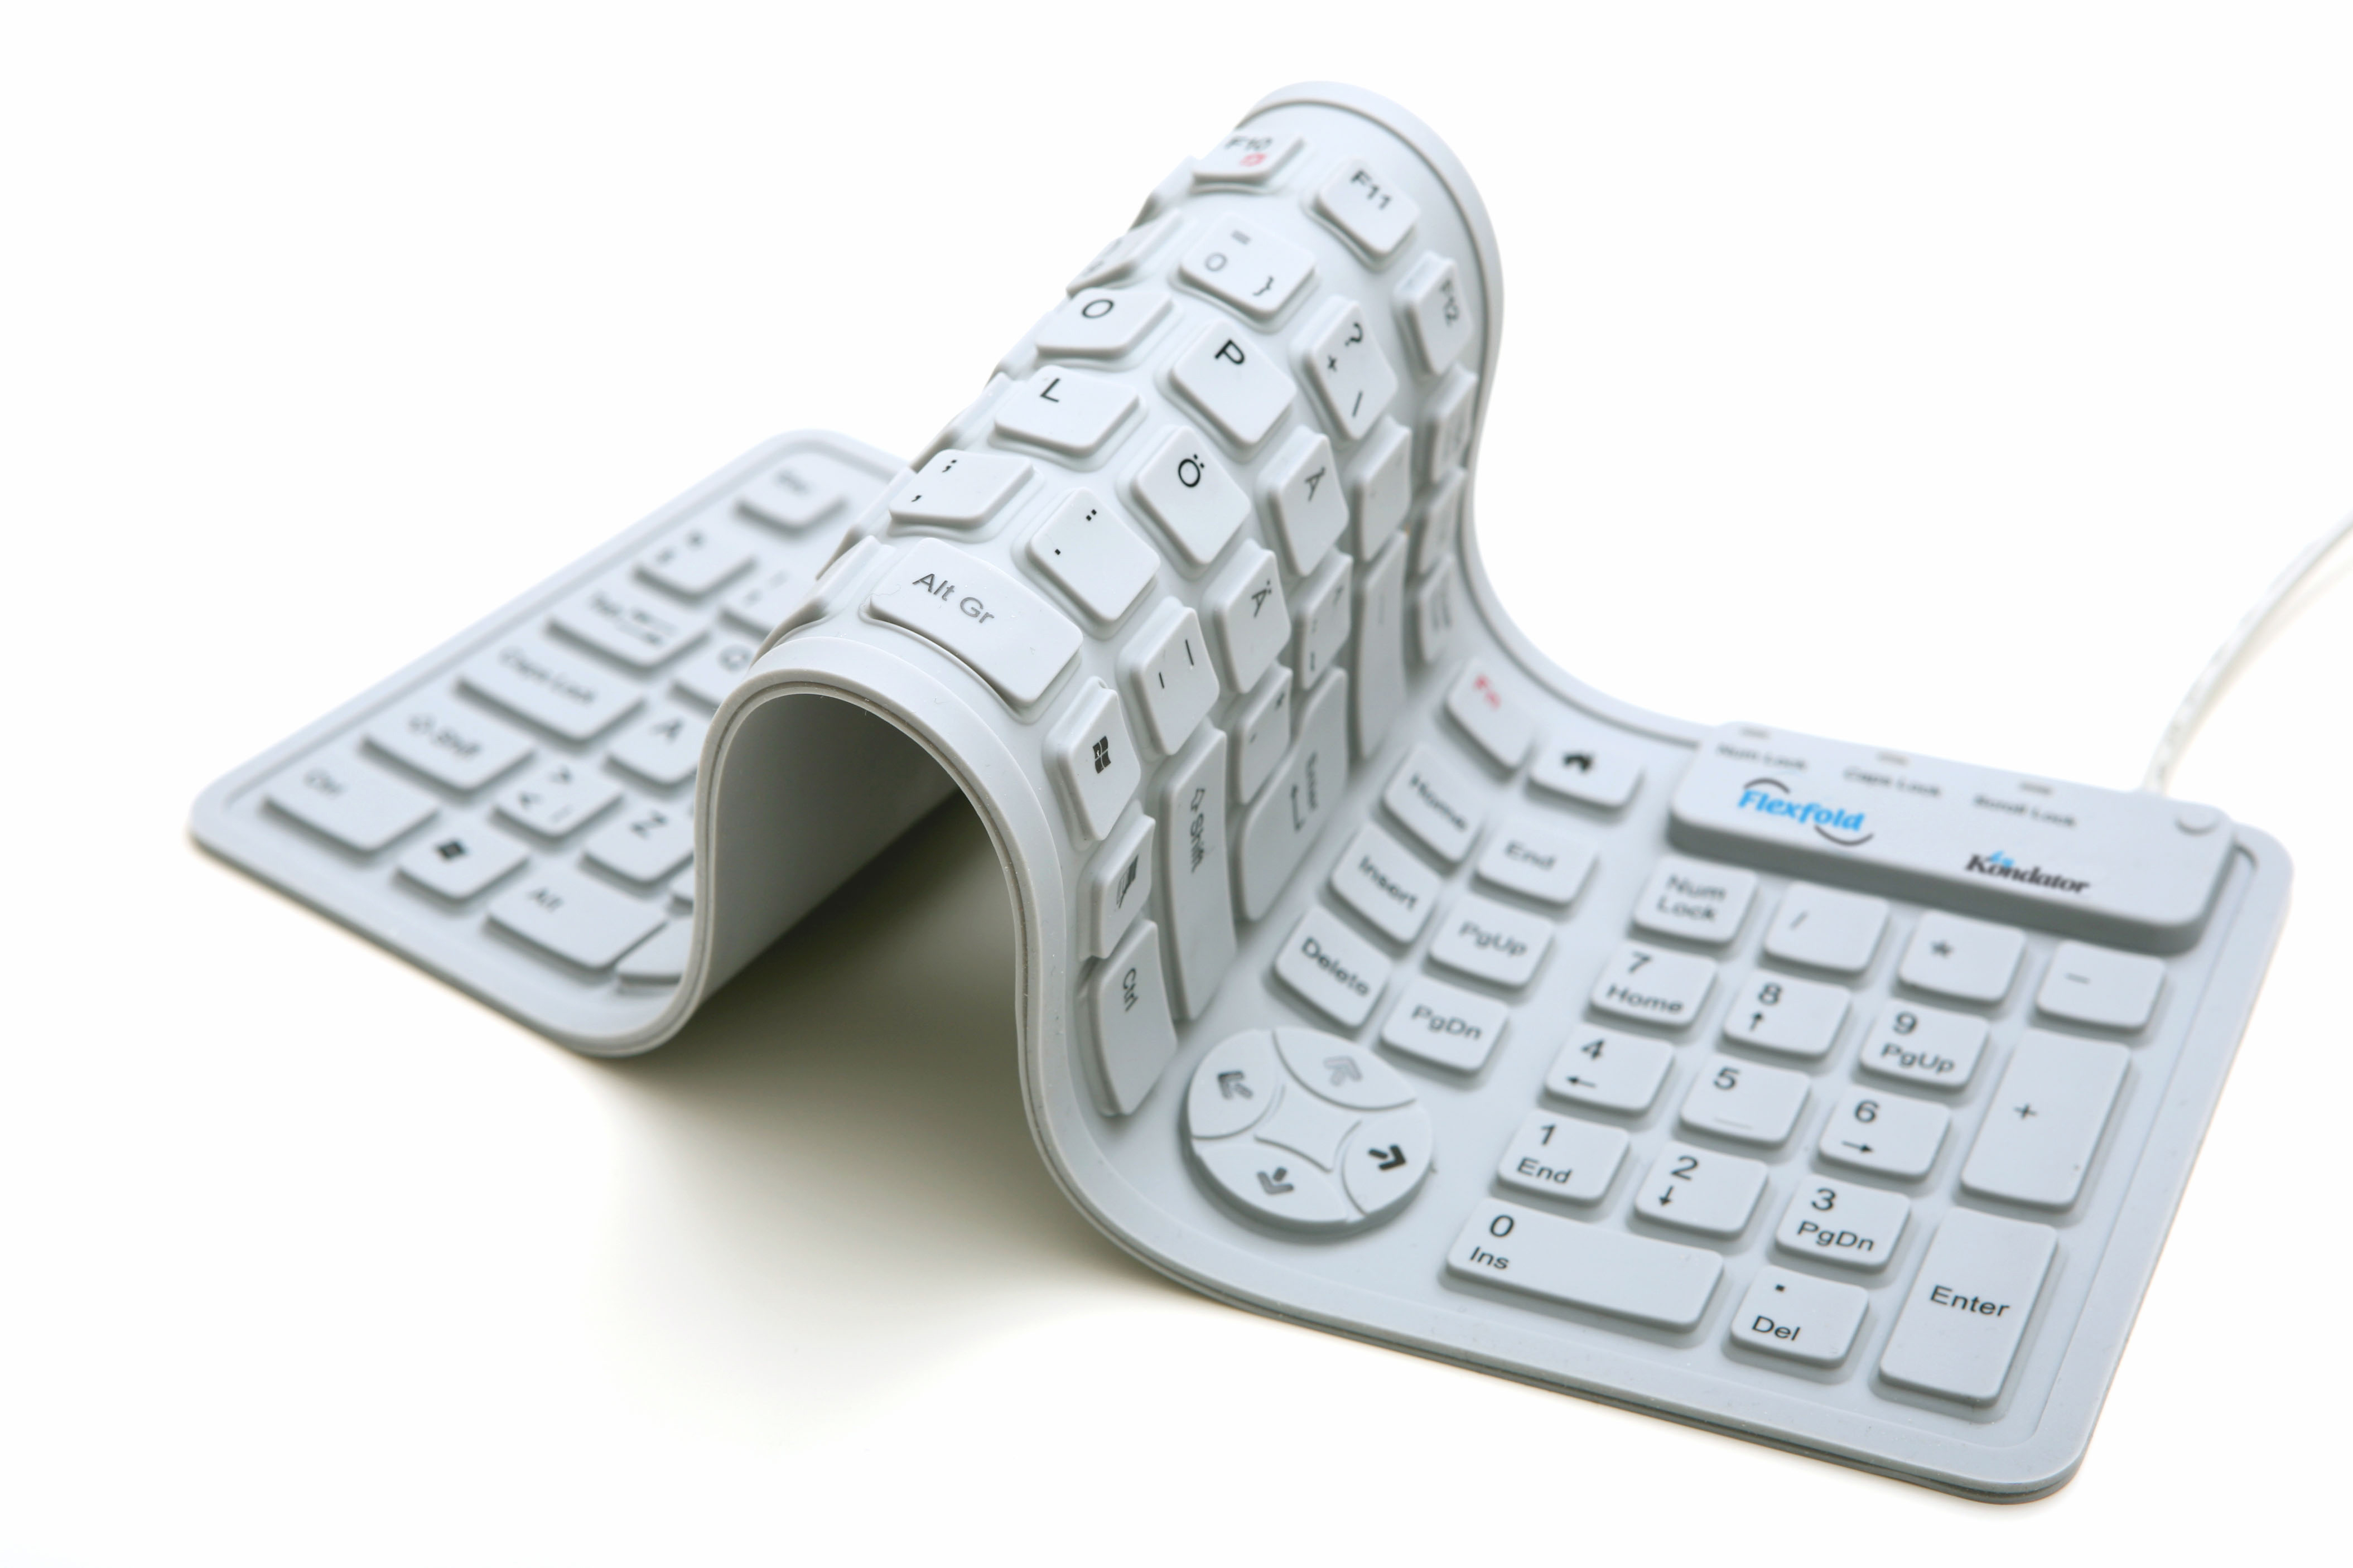
Not only is Kondator AB looking out for and protecting the well-being of its customers, it’s going above and beyond to protect the environment as well. Thanks to a commitment for providing the highest-quality products while simultaneously living up to high environmental standards, the Swedish company has become a true leader in the world of office ergonomics.
Kondator 3D models now available in pCon.catalog space planning room planning pCon.catalog pCon OFML Kondator 3D models
Image courtesy of: www.kondator.se

When planning an office, we often think about essentials like chairs, tables and cabinets – but what about the accessories that adapt our workspaces to our particular needs? That’s where Kondator comes in! From keyboard storage and CPU holders to flexible and fixed arm support, the Swedish developer provides the technology and design necessary for creating an adaptable, productive and comfortable work space.

Wanting to incorporate such items and accessories into your design?
Now that Kondator 3D models are available in pCon.catalog, it’ll be a piece of cake. Head on over to the Kondator page in our web portal and choose from dozens of 3D CAD models.

When a picture just isn’t enough…

$
0
0

When a picture just isnt enough... room planning presentation pCon.planner panorama impress image rendering
A picture is worth a thousand words, so the saying goes. It wasn’t long ago that plans were created solely using article numbers. But nowadays, there are diverse programs that allow you to create plans with photorealistic renderings and that let you visualize your products based on their particular features. On our Blog and in our Video Tutorials, we’ve already shown you how you can properly set the scene for your plan in order to create the perfect rendering. While this is well suited in most cases, today we want to show you an even more impressive way to present your final design – we’re talking about 360° panoramic views.

Surely you know the “Panoramic View Function” from your smartphone. You stand at the top of a mountain, phone in hand with a beautiful landscape before you. By panning the phone across the scene and simply touching a button, you can capture the entire stunning view. Creating a panoramic image in pCon.planner is just as simple.

Start by selecting a location in your plan. From there, you can navigate the scene using the Media Maker. Lastly, select the size you want for your panorama –it’s that easy! After the image is computed, you will see your panorama, or spherical picture, displayed in a rectangular output window.
When a picture just isnt enough... room planning presentation pCon.planner panorama impress image rendering
“How does one show the atmo(sphere) of the image,” you ask? With the online presentation service Impress, and with just a few minutes of your time, you can impressively present your panoramas on a computer, tablet or even your smartphone. Simply save the rectangular image, load the picture into Impress, and be amazed!

Below we’ve prepared a 360° panorama in which you can move around the image, rotating it and zooming in on any of the details. Try it on your tablet if you want to have even more fun. By tilting and turning the tablet in your hands, you can move rotate and move about the panorama.
When a picture just isnt enough... room planning presentation pCon.planner panorama impress image rendering

You can use 360° panoramas as an interactive presentation technique directly online or on a mobile device. Impress also allows the possibility to provide links for your customers or friends, so they won’t have to install a panorama viewer on their own system.

So, what are you waiting for? Go ahead and give it a try!

Bring your Design to Life with Materials and Textures

$
0
0

Over the last few weeks, we’ve taken a glimpse at just a few of the ways you can make a room more inviting and lifelike with the help of lighting and proper rendering techniques. Now, we’re diving just a bit further to explore what it is about texture and materials that makes them so essential for your space.

Texture is all around us. From the smooth, yet subtle curves of an ebony wood coffee table, to a beautifully tiled mosaic floor, our world is full of materials and patterns that add depth and interest to our everyday surroundings. It should come as no surprise then that these materials, while sometimes overlooked, can make or break the feel of a space. And when it comes to room planning on a digital level, material is an absolute must if you’re looking to create a realistic experience for your viewers.

Take for example the two images below. Same room, same furniture placement, but just a few texture and color changes made an enormous difference in the look and overall feel of the room.

Bring your Design to Life with Materials and Textures space planning pCon.planner materials interior design interior decorating 3D models

Bring your Design to Life with Materials and Textures space planning pCon.planner materials interior design interior decorating 3D models

Let’s take a look to see how you can incorporate different materials into your designs to invoke a particular feel and atmosphere, and better yet, how you can accomplish this with the help of pCon.planner.

Light reflection

Nothing adds depth to an image like reflection and shadows can. By incorporating materials such as a glass countertop, marble floor or smoothly lacquered chairs, you can help to bounce light and really open up a room. But be careful! Too much reflection and smooth texture can create a cold atmosphere.

>> The Reflectivity and Shininess settings in pCon.planner can help to add depth and light to your plan. Within the Material Editor, you can adjust the amount of light a certain material reflects, as well as the intensity of its shine.

Appropriate Textures

You should also keep in mind the size and type of space you’re working with. If you’re working with a small space, a light, airy fabric for your sofa may be more appropriate than a chunky velvet or leather couch. On the other hand, a large space may come across unappealing and odd if the materials are too thin. By adding deeper and more extreme textures, like leather armchairs or a carpeted floor, you can make objects appear heavier, creating a much more inviting space.

>> The Materials catalog in pCon.planner is the perfect place to find inspiration for your plan. Simply click on the Materials icon to open a browser full of surfaces, textures and fabrics. To insert a material, select it in the catalog and you will be taken back to your plan to add it to a particular object.

Mix and Match

The last thing you want is a space that is monotonous or boring. Who said you have to stick to all smooth textures and bright colors? Play around with your materials, mixing and matching to create focal points in the room. If you have a room with reflective wood floors and lighter furniture, try a warm colored rug to add depth to the space. Or, how about a nice brick wall as a focal point for your living room? Again, be careful! If you have too many patterns and color spectrums, your room will come across busy and untidy as opposed to modern and fun.

>> Haven’t found the perfect material for your space? Then create your own! In the Material Editor, you can let your creativity run wild. Click on the Create New Material icon, and you’re free to customize your material, basing it on a color or texture and adding a normal map. You can also adjust the height, width and rotation of the material.

With all the material options at your fingertips, the possibilities are endless. Keep in mind the tips and tricks we’ve given, and give it a try yourself. Better yet, share your final designs with us; we’d love to see what you come up with!

For more inspiration, be sure to take a look at our Image Gallery.

Rendering Tips – Working with the “Ball of Light”

$
0
0

A few weeks ago, we asked you what topics you’d like to see more of here on the pCon blog. And we received several suggestions.

Today, we’ll be dedicating our post to the first topic suggestion: Tips and Tricks for your Renderings. With that said, this post will concretely explain how to quickly and easily illuminate your renderings in pCon.planner.

Lighting done right
Finding and fine-tuning the right lighting for your particular design space can be extremely time consuming. But don’t fret, one of our pCon.planner trainers has developed a quick fix for you, appropriately name the “ball of light.”
The “ball of light” consists of grouped, directional light sources that emits light in all directions. This ensures that renderings created in the lighting method Direct Lighting are evenly lit.
Rendering Tips – Working with the “Ball of Light”

Applying the “ball of light”
Before you insert the “ball of light,” be sure to remove the Default Lighting from your plan. Without this step, your image will appear overexposed. Once the default lighting has been removed, you can insert the “ball of light” into your design. The exact placement of the light source is up to you, however, we suggest placing it outside of the room. This way, the light won’t be in the way if you want to make any changes within the space.

Now, try creating a rendering. With the addition of the “ball of light,” you’ll notice the image is evenly illuminated. Keep in mind, this also means that hardly any shadows will be present, impacting the spatial effect of the rendering. To avoid this problem, you can then add an additional light source using a Directional Light type. With this, we’re imitating sunlight and bringing shadows back into the picture. Together, these light sources will bring about a more natural appearance.

Download the “ball of light” here and try it out yourself!

You can see the individual steps for this rendering tip in the gallery.
Rendering Tips – Working with the “Ball of Light”

Rendering Tips – Working with the “Ball of Light” Rendering Tips – Working with the “Ball of Light” Rendering Tips – Working with the “Ball of Light”

Rendering Tips – Working with the “Ball of Light” Rendering Tips – Working with the “Ball of Light” Rendering Tips – Working with the “Ball of Light”

The Right Perspective

$
0
0

The New Year has begun and many New Year’s resolutions have crept their way into the calendar – make time for some sports, spend more time with the family, keep your room looking clean and organized. While the first two are something you’ll have to go at alone, we can definitly help when it comes to the last one.

When we make a room plan, we’re looking to create a representative space and bring the right attention to it. The not-so-intricate details and corners are often hidden away and we choose instead to show off what’s impressive and beautiful about the space. A planner may know his own work best, but how can he get his viewers to see the plan through his eyes?

It’s simple: give them the right angle.

For this, pCon.planner provides the ability to set a specific camera from an active view. The selected view of the plan is then held and can be viewed and adjusted at any time.

Detalied intructions on how you can set the camera and edit its parameters can be found in our Help Center.

If you need to create a view quickly, that’s no problem. pCon.planner has predefined perspectives available for you. These include views from the top, rear, front and right as well as views from angles like the southeast and northwest of the plan. If nothing is selected, the chosen view relates to the overall plan. Single or multiple objects are the center and pull the focus onto themselves.

So, don’t leave all the glory to the photographers. Instead, make yourself a top photographer and set the scene for your products and plans with the help of pCon.planner.

More information and step-by-step explanations can be found in our video tutorial.
Have fun working those angles!

Viewing all 122 articles
Browse latest View live